Do you want to take stunning, sharper photos with your smartphone camera? Many people believe a professional camera is necessary for high-quality images, but with the right techniques, your smartphone can produce incredibly sharp photos that rival even dedicated cameras. This article provides practical tips and tricks to help you maximize your smartphone camera’s potential and capture those picture-perfect moments with remarkable clarity and detail. Whether you’re shooting landscapes, portraits, or everyday moments, mastering these smartphone photography tips will elevate your photography game significantly.
Learning to take sharper photos with your phone involves understanding a few key concepts and practicing specific techniques. From understanding focus and stability to exploring advanced settings and post-processing options, this guide covers essential tips to help you achieve sharpness in your smartphone photography. Prepare to unlock the full potential of your smartphone camera and capture breathtaking images with professional-level sharpness.
Clean the Lens Before Every Shot
It seems obvious, but a clean lens is crucial for sharp images. Smartphone lenses are constantly exposed to fingerprints, dust, and pocket lint. These obstructions can significantly impact image quality by creating blur, smudges, and glare.
Before taking any photo, quickly wipe your lens with a soft, microfiber cloth. Avoid using abrasive materials like paper towels or clothing, as these can scratch the lens. A gentle, circular motion is best for removing debris effectively.
Use Gridlines for Better Composition
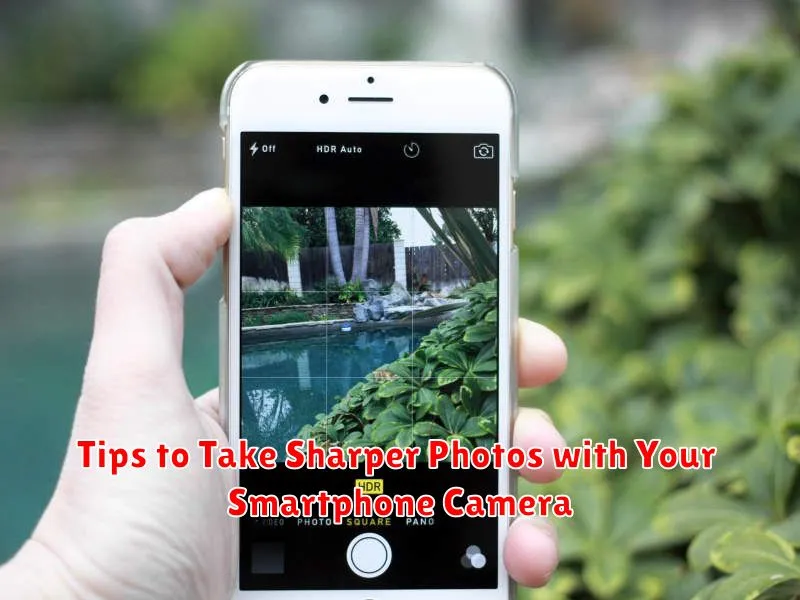
Enable gridlines in your smartphone camera settings. These lines overlay a grid based on the “rule of thirds,” a compositional guideline that suggests placing key elements along these lines or at their intersections. This technique can help create more balanced and visually appealing photos.
Gridlines make it easier to level your horizon, ensuring straight lines in landscapes and architecture shots. They also aid in achieving symmetry and framing your subject effectively, particularly useful for portraits and close-ups. By utilizing gridlines, you can move beyond simply centering your subject and explore more dynamic compositions.
Tap to Focus and Adjust Exposure
One of the most essential features of your smartphone camera is its ability to tap-to-focus. Simply tapping the screen on your desired subject tells the camera where to concentrate its focus. This ensures that your subject is sharp and clear, while the background can be softly blurred, creating a professional look.
In addition to focusing, this tap often allows you to adjust the exposure. On most smartphones, a small sun icon appears next to the focus box. By sliding your finger up or down, you can brighten or darken the image, respectively. This is particularly useful in challenging lighting situations, allowing you to capture details that might otherwise be lost in shadows or blown out in highlights.
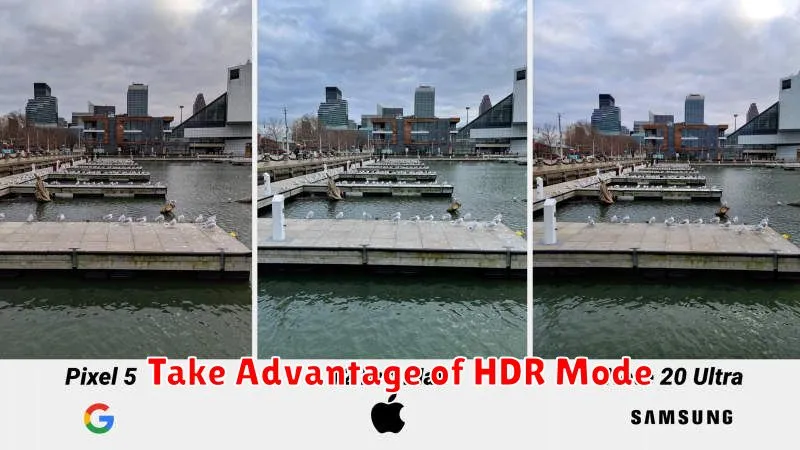
Take Advantage of HDR Mode

High Dynamic Range (HDR) mode is a powerful tool for capturing scenes with a wide range of light and shadow. It works by taking multiple photos at different exposures and combining them to create a single image with improved detail in both the highlights and shadows.
When should you use HDR? Consider enabling HDR when photographing high-contrast scenes, such as landscapes with bright skies and dark foregrounds. It can also be helpful for backlit subjects.
While HDR can be beneficial, it’s not always necessary. In situations with even lighting, HDR might produce an unnatural look. Experiment to see if HDR enhances your specific shot.
Shoot in Good Lighting Conditions
Light is a critical element in photography. Ample light allows your smartphone camera to use a faster shutter speed, which freezes motion and reduces blur. Conversely, low light forces the camera to use a slower shutter speed, increasing the chances of a blurry image, especially if your subject is moving or you have unsteady hands.
Whenever possible, shoot in well-lit areas. Natural light is often ideal. If you’re indoors, position your subject near a window or other light source. Avoid backlighting your subject, as this can lead to silhouettes. If you must shoot in low light, consider using your phone’s built-in night mode or a tripod for stability.
Avoid Using Zoom—Crop Later
Digital zoom on smartphones often degrades image quality. Instead of using zoom while shooting, take the photo at your camera’s native resolution. Crop the image later in post-processing. This allows you to reframe your shot without sacrificing precious pixels, resulting in a sharper final image.
Think of it this way: zooming digitally is like stretching a small image to fit a larger frame. Cropping, on the other hand, is like taking a larger piece of fabric and cutting it down to the size you need. The fabric itself (the initial image data) remains intact, maintaining detail and sharpness.
Use Manual Controls When Available
Many smartphone camera apps offer manual controls, allowing you to adjust settings like ISO, shutter speed, and white balance. Utilizing these controls gives you greater creative freedom and can significantly improve image sharpness.
For example, lowering the ISO reduces noise, leading to cleaner, sharper images, especially in low-light conditions. A faster shutter speed freezes motion, preventing blur caused by camera shake or moving subjects. Adjusting white balance ensures accurate color representation, contributing to a crisper, more defined photograph.
Stabilize Your Phone or Use a Tripod
Camera shake is a primary cause of blurry photos. Minimizing movement is crucial for sharp images, especially in low-light conditions where the shutter stays open longer.
Handheld Techniques: Use both hands to grip your phone firmly. Tuck your elbows into your sides for added stability. Find a solid surface like a wall or railing to lean against. Gently press the shutter button instead of tapping it abruptly.
Tripods: For optimal stability, especially for long exposures or video recording, a tripod is invaluable. Even small, inexpensive tripods designed for smartphones can make a significant difference in image sharpness.

